
Waiuku · Drainlayer
Drainlayer in Waiuku
Adding a toilet and hand basin to a workshop starts with checking where their wastewater can go. Send the property address, a workshop plan, proposed fixture positions and any drainage drawings before fixing the bathroom layout.
- PGDB licensed
- Site Safe member
- Impac Prequal assessed
- Kiwi-owned since 2012
How it works
Call or enquire
Phone us or send the address and what you’re seeing.
We assess
A licensed Stately plumber looks at the job on site.
Clear quote
You get a plain explanation and a clear quote before work starts.
Job done and tidied
We finish the work and leave the site clean.
Include photographs of the floor and the ground between the workshop and existing drains. Stately covers Waiuku. The first onsite task is to establish a workable connection route, not simply choose the shortest trench.
Set the fixture layout before excavation
Mark the toilet outlet and basin position on a dimensioned sketch. Show doors, benches, vehicle access and any planned partitions. Tell us whether the workshop floor already exists or is awaiting a pour. A pipe beneath a new slab needs coordination with the builder before reinforcement and concrete close off access.
Explain how the workshop will be used, including whether the basin is solely for washing hands. Keep machinery washdown and process liquids outside this fixture drainage brief. If commercial discharge is proposed, the designer and Watercare requirements must be confirmed before that flow becomes part of the drainage design.
Locate the receiving drain and measure levels
Existing drawings provide a starting point. Onsite checks establish the actual drain position, depth, condition and available connection point. We also check other buried services along the proposed excavation. Small locating excavations help expose critical points before committing to a full trench through a yard or beside the workshop.
The floor level, toilet outlet and receiving drain level determine whether the proposed gravity route is workable. The designer resolves the route where those levels conflict. Confirm whether the receiving pipe is private or public: owners maintain private pipes, while Watercare manages public wastewater. Excavation near public wastewater assets may require Watercare approval.
More about drainlayer in Waiuku
Agree approvals and the installation programme
Use the settled fixture layout and route to define the work for the builder and drainage team. Check the consent position against MBIE guidance for the actual alteration, with council involvement as required. A new workshop bathroom should be assessed as its proposed scope, rather than treated as an ordinary pipe repair.
Where a new public wastewater connection is needed, programme Watercare's application, inspection and completion process into the job. Restricted drainlaying needs an appropriately authorised person; check the person undertaking it through the PGDB register. Agree inspection stages before excavation starts so the builder knows when trenches and floor openings must remain accessible.
Excavate and lay the workshop drainage
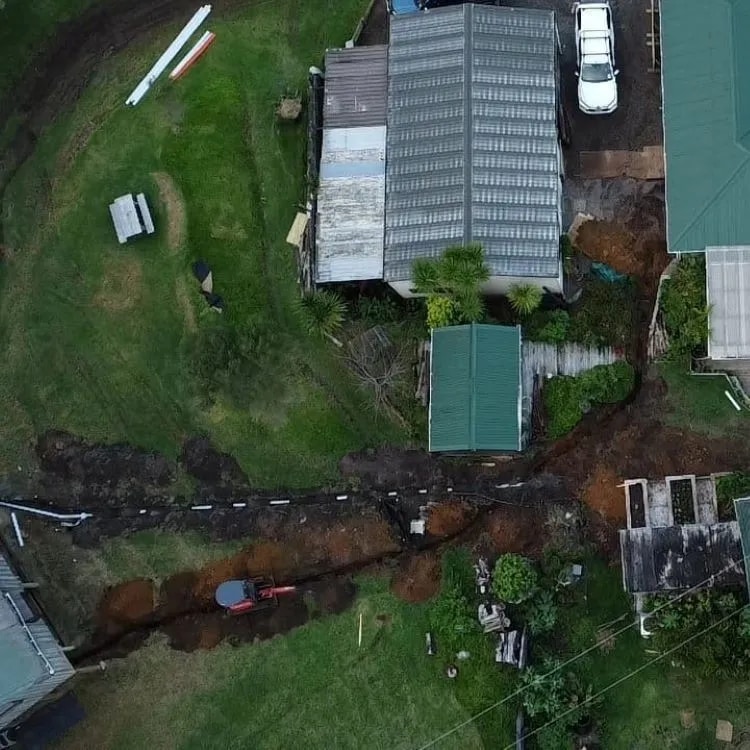
Set out the agreed trench and protect access around it. Separate the excavation area from workshop activity and identify where spoil will be placed. Lift or cut affected surfaces to suit the route. Excavate to the checked levels, with suitable support and bedding for the pipework rather than following an uneven trench bottom.
Lay the toilet drainage and the planned basin waste connection to the approved arrangement. Coordinate slab penetrations with the builder and fixture connections with the plumber. Provide the specified access points for future maintenance. Any damaged receiving pipe exposed at the junction needs an agreed repair scope before the new branch is connected.
Test before covering and record the route
Keep the pipework visible for the required tests and inspections. Check joints, alignment and levels, and coordinate a flow check once fixtures are connected. Resolve recorded defects before covering the work. Backfilling and the slab programme should follow inspection clearance, not force an early cover over an unverified connection.
At handover, provide a drainage layout showing the installed route, junctions and access points, alongside available test and inspection records. Include photographs taken before backfilling. Confirm the agreed surface finish, such as compacted backfill or completed paving reinstatement, and identify any separate concrete finishing still assigned to the builder.
Drainlayer: questions from Waiuku
Can we pour the workshop slab first?
Coordinate underfloor drainage and inspection stages before the pour. An existing slab needs its penetrations and excavation planned around the checked route.
Can the basin use the toilet drain?
The designer or installer checks the connection arrangement onsite, including levels, venting and access. Do not set either outlet from a sketch alone.
What should the builder receive before backfilling?
Provide inspection status, any outstanding corrections and the installed drainage record. Agree who authorises covering and who completes each disturbed surface.
More help in South Auckland
Read before you call
Google reviews
Rated Excellent
Real words from Auckland customers on Google.
Excellent service and reliable people will definitely use them again
4 / 5